


Mapping the Nokia 5800 memory card as a Network Drive
Author: Tejash Patel // Category: SYMBIAN TRICKS
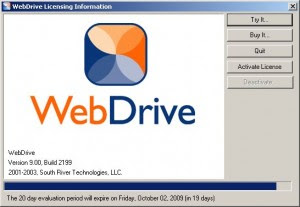
1. Please download and install WebDrive http://www.4shared.com/get/121442725/a4c7144f/SouthRiverWebDrivev9002199Enterprise.html . Launch WebDrive.
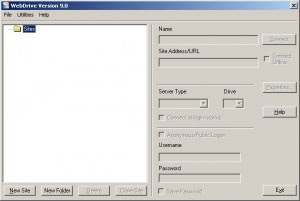
2. Click on NEW SITE button at the bottom.
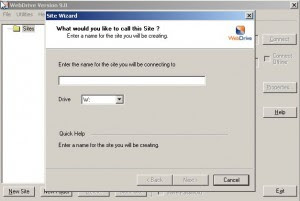
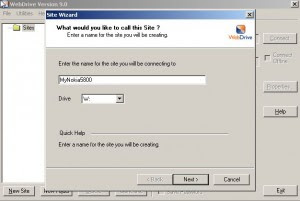
3. Type the name of the drive and select the drive letter. The mapped drive will have this name and drive letter. Click NEXT.
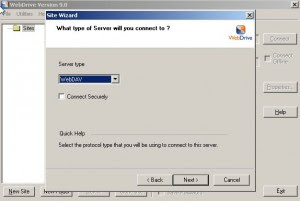
4. Select the "Server Type" as WebDAV and click NEXT.
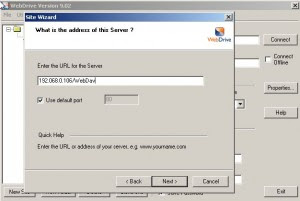
5. Key in the URL for the server. URL format is "/WebDav". Everything is case sensitive. Phone's IP Address is the Nokia 5800's ip address on your Wi-Fi network. Click NEXT.
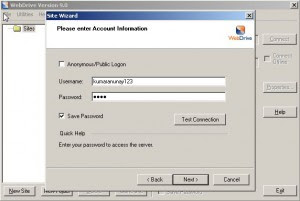
6. Key in the username and password used while configuring the Nokia Web Server on Nokia 5800. Choose to save the password. Click NEXT.
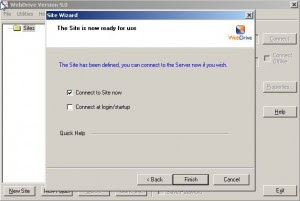
7. Click on FINISH.
8. Go to My Computer.
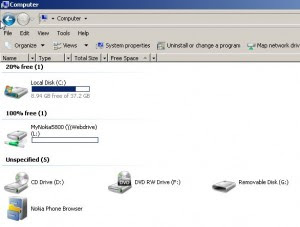
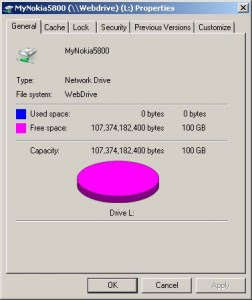
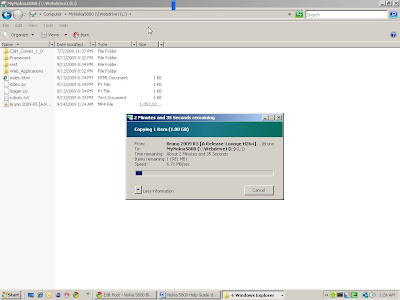
Now you can copy, delete, edit any file to/from this drive just as you do with normal windows drives. Any file that you copy here appears in your phone under this location - "E:\Data\Web Server\htdocs\".
If you wish to see your existing files on the phone in this mapped drive, you need to move the file/folders to "E:\Data\Web Server\htdocs\".
Caution: Remember to move your files back from this location before uninstalling the Nokia Web Server otherwise all the files will get deleted.

2. Click on NEW SITE button at the bottom.

3. Type the name of the drive and select the drive letter. The mapped drive will have this name and drive letter. Click NEXT.


4. Select the "Server Type" as WebDAV and click NEXT.

5. Key in the URL for the server. URL format is "

6. Key in the username and password used while configuring the Nokia Web Server on Nokia 5800. Choose to save the password. Click NEXT.

7. Click on FINISH.

8. Go to My Computer.


Now you can copy, delete, edit any file to/from this drive just as you do with normal windows drives. Any file that you copy here appears in your phone under this location - "E:\Data\Web Server\htdocs\".
If you wish to see your existing files on the phone in this mapped drive, you need to move the file/folders to "E:\Data\Web Server\htdocs\".
Caution: Remember to move your files back from this location before uninstalling the Nokia Web Server otherwise all the files will get deleted.


Recent Comments